When life gives you lemons, you make lemon desserts—delicious lemon bars, to be exact. After buying a big bag of organic lemons, I used them in everything from salad dressing to detox water to squeezing over crispy fish. But even after all that, I still had six left. And that’s where the inspiration for a new recipe began for me. I thought, let’s make lemon bars! The bright lemon flavor of a fresh batch always feels like the perfect dessert anytime you want something uplifting.
Why I Created My Own Lemon Bar Recipe
I started searching for lemon bar recipes online—many boasting nearly 5-star ratings—but quickly ran into problems. Most traditional recipes use all-purpose flour, plenty of butter, and a generous amount of refined sugar. Traditional lemon bars are undeniably delicious, but not always compatible with gluten or dairy sensitivities, nor with anyone trying to avoid excessive sugar. Some were labeled paleo lemon bars, but they still relied on overly processed starches or large amounts of sweetener.
Even gluten-free lemon bars often depend on heavily refined white flours, gums, or starch blends. And as someone who prefers fresh-milled flour and whole foods when given the option, I wanted a better approach—one that didn’t include xanthan gum or rely solely on starches to hold the crust together.
We also try to balance flavor with health. Using too much sugar can spike blood sugar, leading to that familiar crash. So creating a healthier version that still tasted like classic lemon bars mattered. I wanted to highlight the bright flavor of fresh lemons, create a delicious shortbread crust, and still feel good serving it to my family.
So, I went to the kitchen, determined to make a gluten-free, dairy-free, lower-refined-sugar lemon bar recipe that would still be tender, tangy, and reminiscent of the best texture in beloved classic recipes. These were a hit from the first batch and have been every time, whether at friends’ gatherings or as a family weekend dessert.
A Better Gluten-Free Flour Blend
I’ve been baking gluten-free with fresh-milled whole grains for a while now, and I find the flavor, nutrition, and structure far superior to anything made with a boxed blend. My typical combination includes oat flour, brown rice flour, and sorghum flour. These gf flours behave beautifully together, and fresh milling helps preserve nutrients while enhancing flavor.
- Brown rice flour adds a neutral taste with structure.
- Oat flour creates a softer, almost creamy crumb.
- Sorghum flour provides heartiness and balance.
I also use coconut sugar in the crust. It’s lower on the glycemic scale than white sugar and adds a natural color and caramel undertone that pair beautifully with lemon. You can use maple syrup in some recipes, but for a buttery shortbread crust (made dairy-free with melted coconut oil), keeping the mixture dry helps prevent a soggy crust. You’ll see that this recipe doesn’t rely on butter, condensed milk, or dairy. The version shared here keeps the filling bright, light, and classically citrus-forward.

Save $20 with code VINTAGEVIRTUES


The Structure: Binder + Starch
Most gluten-free baking relies on a balance of whole grain flours, a starch, and a binder. Using arrowroot starch (or arrowroot flour) along with a touch of oat flour gives the light lemon filling its silky, tender set without becoming rubbery. It helps hold the lemon curd mixture together and prevents the bars from cracking on top.
Room-temperature eggs work with the arrowroot to create a custard-like filling—a perfect middle ground between too soft and overly firm. A well-set lemon bar should have a slight jiggle in the center when removed from the oven.
Why Parchment Paper Matters
If you’ve ever baked lemon bars in a metal pan, you know the only thing worse than bars sticking is having the edges of the pan scorch or over-bake before the center is done. Lining your baking or glass pan with parchment paper ensures clean slicing and prevents the pan’s sides from reacting with the acidic filling. It also makes it easy to lift the entire pan of bars onto a baking sheet to cool.
The Perfect Balance of Flavor and Texture
A good lemon bar recipe comes down to balance: a structured crust, a flavorful and tart filling, and a set that isn’t too firm. This version creates a gluten-free shortbread crust that is tender, golden brown, and sturdy enough to hold the lemon mixture without getting soggy—even the next day. Using fresh Meyer lemons if they’re in season gives the lemon layer a naturally sweet, tart flavor.


The filling relies on fresh lemon juice and lemon zest to maintain that unmistakable citrus brightness. Some recipes use a double boiler, but whisking everything in a mixing bowl works just as well here. You can even add a cranberry layer during the holidays for a festive twist.
Between the creamy filling and the sturdy crust, the final result has the perfect balance of sweet and tart—a wonderful recipe that still honors the charm of classic lemon bars.
Storage Tips
Once baked and cooled, store your bars in an airtight container. You can refrigerate them for up to 3 days, or freeze them individually wrapped in a freezer-safe bag for longer storage. They thaw beautifully and make excellent sweet treats to grab on busy days.

Powdered Sugar

Fresh-Milled GF Flour
Lemon Bar Recipe

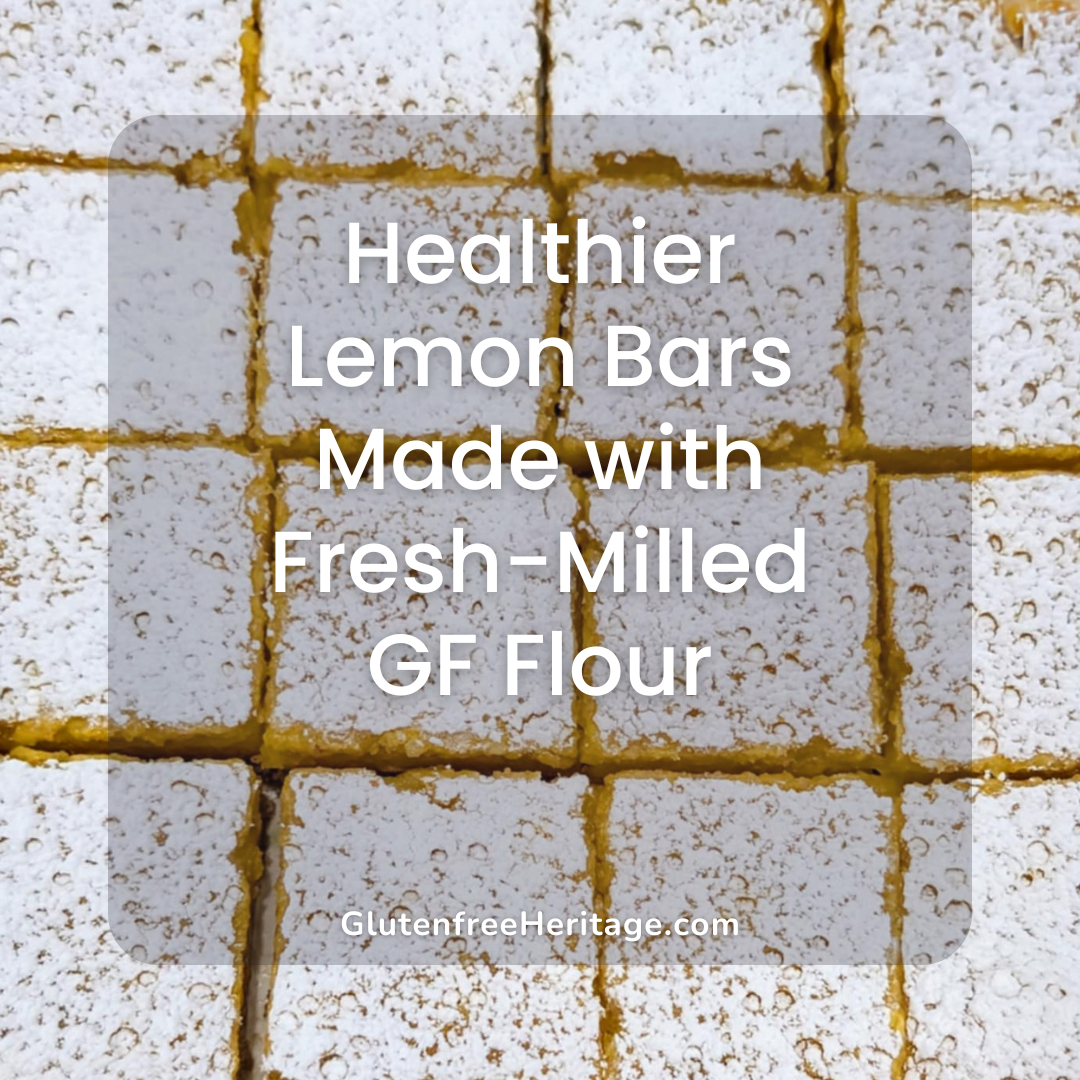
Healthier Lemon Bars Made with Fresh-Milled GF Flour
Equipment
- 1 Grain Mill $20 Off with code VINTAGEVIRTUES at: https://nutrimill.com/VINTAGEVIRTUES
Ingredients
Shortbread Crust:
- ½ cup fresh-milled brown rice flour (70 g)
- ¼ cup fresh-milled oat flour (30 g)
- ¼ cup fresh-milled sorghum flour (35 g)
- ⅓ cup coconut sugar (70 g)
- ½ tsp salt (3 g)
- 1 tsp psyllium husk powder (3 g)
- ½ cup melted coconut oil (112 g)
- 1 tsp vanilla extract (4 g)
Lemon Filling:
- 4 large eggs (≈ 200 g total)
- ⅔ cup organic cane sugar (135 g) or substitute coconut sugar for an even lower glycemic option, though color will darken
- Zest of 2 lemons
- ¾ cup fresh lemon juice (180 g) from about 5 lemons
- 2 tbsp arrowroot starch (16 g)
- 2 tbsp oat flour (16 g)
- Pinch of salt
Instructions
- Shortbread Instructions:
- Preheat oven to 350°F (175°C). Line an 8×8″ baking dish with parchment paper. The lining will ensure the bars come out clean, without sticking to the pan, and slice nicely.
- In a mixing bowl, whisk together the flours, coconut sugar, salt, and psyllium husk.
- Add melted coconut oil and vanilla. Stir until a soft dough forms.
- Press dough evenly into the pan. Prick lightly with a fork to prevent bubbling.
- Bake for 18–20 minutes, or until light golden brown. Allow to fully cool while preparing the filling.
Lemon Filling Instructions:
- In a bowl, whisk together eggs, sugar, lemon zest, lemon juice, arrowroot, oat flour, and salt until completely smooth.
- Pour filling over the pre-baked, cooled crust in the parchment-lined, prepared pan.
- Bake for 24–28 minutes, or until just set in the center (a slight jiggle is fine).
- Let the mixture cool at room temperature, then refrigerate for at least 2 hours or overnight for best results. Optional- sift a light tablespoon of powdered sugar over the top of bars for a traditional presentation.
- Slice into 16 bars and enjoy!
A Quick Note on Tools
You don’t need much fancy equipment. After milling my grains into flour using a NutriMill Classic, the rest is made in a mixing bowl with a whisk, measuring cups, and a lined pan. A food processor bowl can be used to blend the crust for a finer crumb, but it’s optional.
Final Thoughts
This is truly the perfect recipe if you want healthier lemon bars made with simple ingredients, real fruit, and whole-food flours. They offer all the sunshine of traditional bars, but with a more nourishing approach—ideal for anyone who loves healthy recipes or wants a lower-carb, lower-sugar option.
As always, some links in this post may be affiliate links, and I may earn a commission on qualifying purchases. Thank you for supporting the work that goes into creating gluten-free, fresh-milled recipes like this one.
If you’re ready for a batch of gluten-free lemon bars that taste just as good as the classic version, this is it. Once you try them, you may find yourself dreaming up variations for next time—and that’s part of the fun of baking with fresh milled flour.
Leave a Reply