There’s something special about pulling warm breadsticks out of the oven. When you know they’re gluten-free, nourishing, and made from scratch, they’re even better. At times, that experience can feel out of reach in the gluten-free world. Too often, breadsticks are dry, crumbly, or bland, requiring extra cost and time and still falling short of expectations. These homemade gluten-free breadsticks are hearty and flavorful, making the perfect accompaniment to an Italian night.
I’ve made them many times now, with traditional butter, dairy-free butter, and with olive oil, and they consistently turn out soft, flavorful, and deeply satisfying. Leftovers store well in an airtight container, freeze beautifully, and reheat in just 2–3 minutes. This is a great thing when you want fresh-tasting bread without starting from scratch every time.
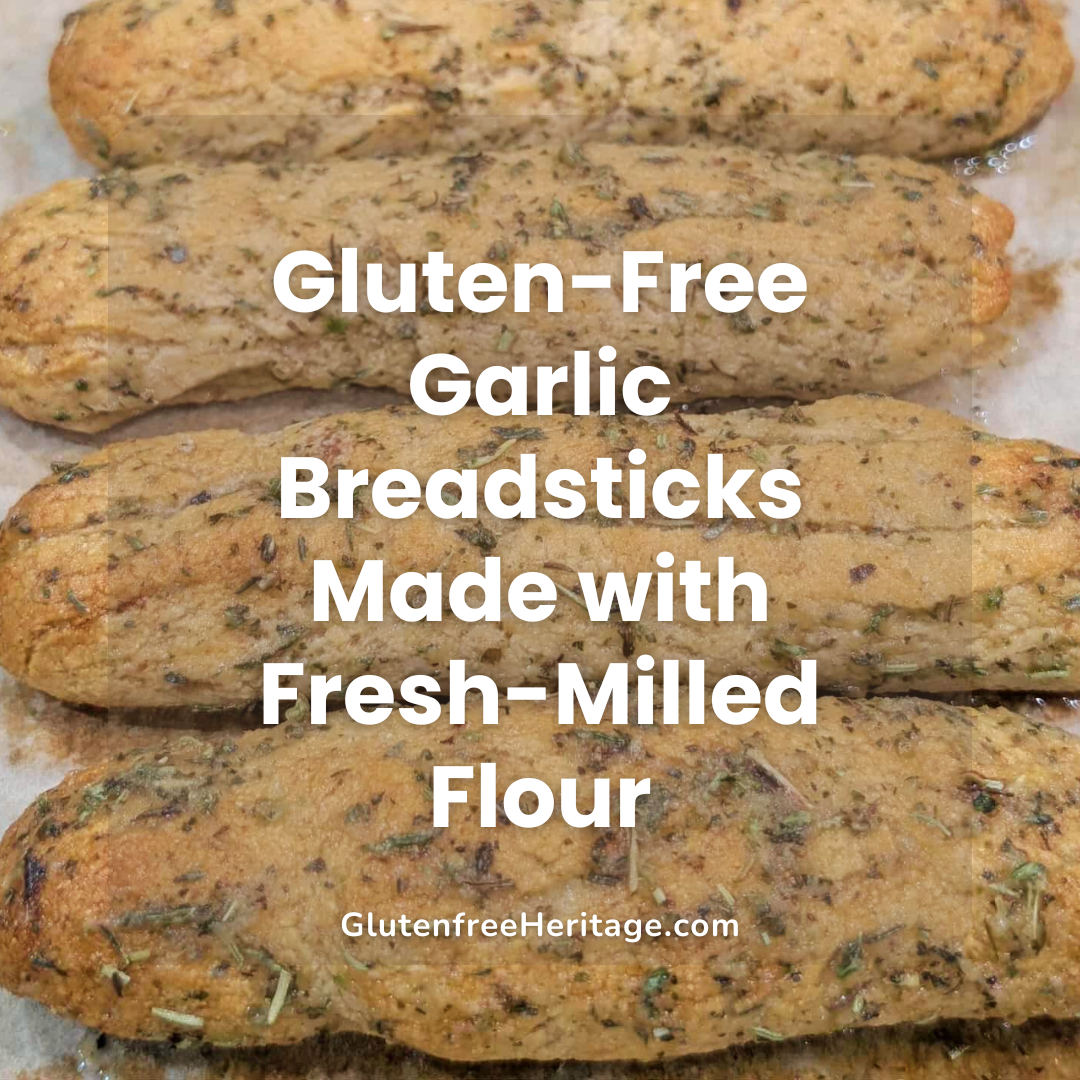
What truly sets these apart, though, is that they’re made with fresh milled flour, using my brand-new NutriMill Harvest grain mill, which makes it possible to have fresh, homemade gluten-free garlic breadsticks with the right texture, flavor, and nutritional value, as I hoped.


Why Fresh-Milled Flour Matters (Even for Gluten-Free Baking)
When people think of fresh milling, they often think of wheat flour, with hard red wheat or soft white wheat. But there are many gluten-free grains and pseudo-grains available for milling into flour; check out this milling guide. Some of the same principles apply to gluten-free grains. Milling your own whole-grain flour preserves nutrients that are lost over time on store shelves and avoids unnecessary fillers.
When prepared correctly, Fresh-milled gluten-free grains can provide baked goods with structure, more complex flavor, and a heartier, more satisfying bite. This recipe also avoids heavy gums like xanthan gum. It’s actually made quite traditionally with flour, yeast, olive oil, salt, and a couple of other ingredients.
Using the NutriMill Harvest is one of the best methods I’ve found for controlling my flour blend from start to finish. It’s fast, efficient, and surprisingly quiet, making fresh milling accessible even for everyday baking. The Classic or Impact mills will also do a great job. Save $20 off with code VINTAGEVIRTUES.
The Inspiration Behind These Breadsticks
I won’t pretend these are an exact copycat of Olive Garden breadsticks, but they definitely scratch that same itch: soft, warm, buttery, and loaded with garlic flavor. In fact, my gluten-free dinner guests have commented that these feel and taste like a “real” breadstick, something that’s still hard to come by, especially when it’s someone enjoying a fresh-baked breadstick for the first time in years.
They’re also incredibly versatile. You can shape them as large breadsticks, twist them into garlic knots, sprinkle with sesame seeds, or even finish them with parmesan cheese. A little herb butter or classic garlic butter takes them over the top.


The Dough: Simple, Forgiving, and Yeast-Friendly
This is an easy recipe by yeast bread standards, and it doesn’t require specialty techniques or a long fermentation. The dough comes together quickly using a stand mixer, making it ideal for weeknight baking or special meals.
I usually start by combining the wet ingredients: warm water, yeast, honey, olive oil, apple cider vinegar, and psyllium husk powder to activate the yeast and form a gel mixture. Psyllium husk powder is key here, providing elasticity and structure without overwhelming the dough. Let it gel for about 5-10 minutes until foamy and gel-like.
Once the mixture becomes slightly gelled, I gradually add the dry ingredients on low speed, using either the paddle attachment or the dough hook, depending on the batch size. The dough should be soft and pliable, not stiff or crumbly.


Shaping and Baking Tips for Success
When it’s time to shape the breadstick dough, I lightly dust my work surface with extra flour and divide the dough into six to eight equal pieces, using a digital food scale to weigh out about 50-75 gram portions, depending on preferred thickness and how many servings are desired. I place each piece on a dough mat and gently roll it into smooth logs about 6 inches long. A rolling pin isn’t strictly necessary; your hands will do.
I then place each breadstick onto a parchment-lined baking sheet and cover them. Cover with plastic wrap or a tea towel for 40 minutes. This helps prevent excess air from drying it out during the rise. Lining the pan with parchment paper prevents sticking and promotes even browning.
Bake in a 425-degree preheated oven, slightly higher than you might expect for gluten-free baking. That burst of heat helps set the structure quickly while keeping the interior soft. Watch closely near the end, every oven is different. They typically bake in 12-15 minutes. I found 14 to be perfect with my oven.
Garlic Butter Makes Everything Better
While the breadsticks bake, I melt butter (dairy-free butter or olive oil are fine substitutes) and stir in fresh garlic, a pinch of salt, and Italian seasoning. A pastry brush makes it easy to coat the breadsticks evenly as soon as they come out of the oven.
You can also experiment with dehydrated garlic, bagel seasoning, or even a little olive oil for a lighter finish. Brushing them while still warm allows the flavor to soak in, creating irresistible warm breadsticks that disappear fast.


Serving, Storing, and Reheating
These gluten-free garlic breadsticks shine straight from the oven, but they’re also convenient. Extras can be cooled completely, stored in an airtight container, or frozen for later. To reheat, simply warm in the oven for a few minutes until soft again.
They pair beautifully with soup, pasta, or roasted vegetables, and they’re an excellent alternative to dinner rolls when you want something a little more special.

Gluten-Free Garlic Breadsticks
Equipment
- 1 Grain Mill Get $20 Off with code VINTAGEVIRTUES at: https://nutrimill.com/VINTAGEVIRTUES
Ingredients
Dry Ingredients
- ½ cup sorghum flour (~70 g)
- ½ cup millet flour (~65 g)
- ½ cup tapioca starch (~60 g)
- 2 tbsp potato starch (~16 g)
- 1½ tsp baking powder (~6 g)
- ½ tsp sea salt (~3 g)
Yeast & Psyllium Gel Mixture
- 2½ tsp active dry yeast (~8 g)
- 1 tsp honey (~7 g)
- 2 tbsp olive oil (~27 g)
- 1 tsp apple cider vinegar (~5 g)
- ¾ cup warm water (180 g)
- 2 tsp psyllium husk powder (~5 g)
For Brushing
- 2 tbsp melted butter (~28 g)
- Pinch salt (~0.5 g)
- 2 cloves fresh minced garlic or ½ tbsp garlic powder (~4 g)
- 1 tbsp Italian herbs (~3 g)
Instructions
- Activate the yeast & psyllium gel: In a stand mixer bowl, whisk together the warm water, yeast, honey, olive oil, apple cider vinegar, and psyllium husk powder until fully combined. Let the mixture sit for 5-10 minutes, until thick and gel-like.
- Prepare the flour: If using whole grains, grind the sorghum and millet into flour using a grain mill, (Or use pre-milled flours.)
- Mix dry ingredients: In a bowl, combine the sorghum and millet flours with the tapioca starch, potato starch, baking powder, and salt. Whisk to combine.
- Combine wet and dry: Add the dry ingredients to the wet and mix with a dough hook on medium speed until a smooth, slightly sticky dough forms.
- Shape: Divide the dough into 8 equal pieces. Gently roll each into a 6-inch (15 cm) breadstick and place on a parchment-lined baking sheet.
- Rise: Cover loosely with a towel and let rise in a warm place for 40–60 minutes, until slightly puffed.
- Preheat oven: Preheat to 400°F (205°C).
- Top & bake: Brush breadsticks with melted butter and sprinkle with garlic powder, herbs, and salt. Bake for 18–20 minutes, until lightly golden.
- Serve: Serve warm.
A Note on Equipment, Cost, and Affiliate Links
Fresh milling does come with an upfront cost. Still, over time, it can reduce reliance on expensive specialty or pre-packaged flour blends like King Arthur, Bob’s Red Mill, etc. It also provides you with access to the freshest nutrients available in grains. Further, it opens the door to experimenting with flour blends, bulk grains, and more.
I’ve shared links to tools I personally use, including my NutriMill Harvest and Classic, as affiliate links. Also, as an Amazon Associate, I earn a small commission from qualifying purchases at no additional cost to you. These links help support the work I do here and allow me to continue testing, developing, and sharing reliable gluten-free recipes. Thank you for being so supportive!
Leave a Reply