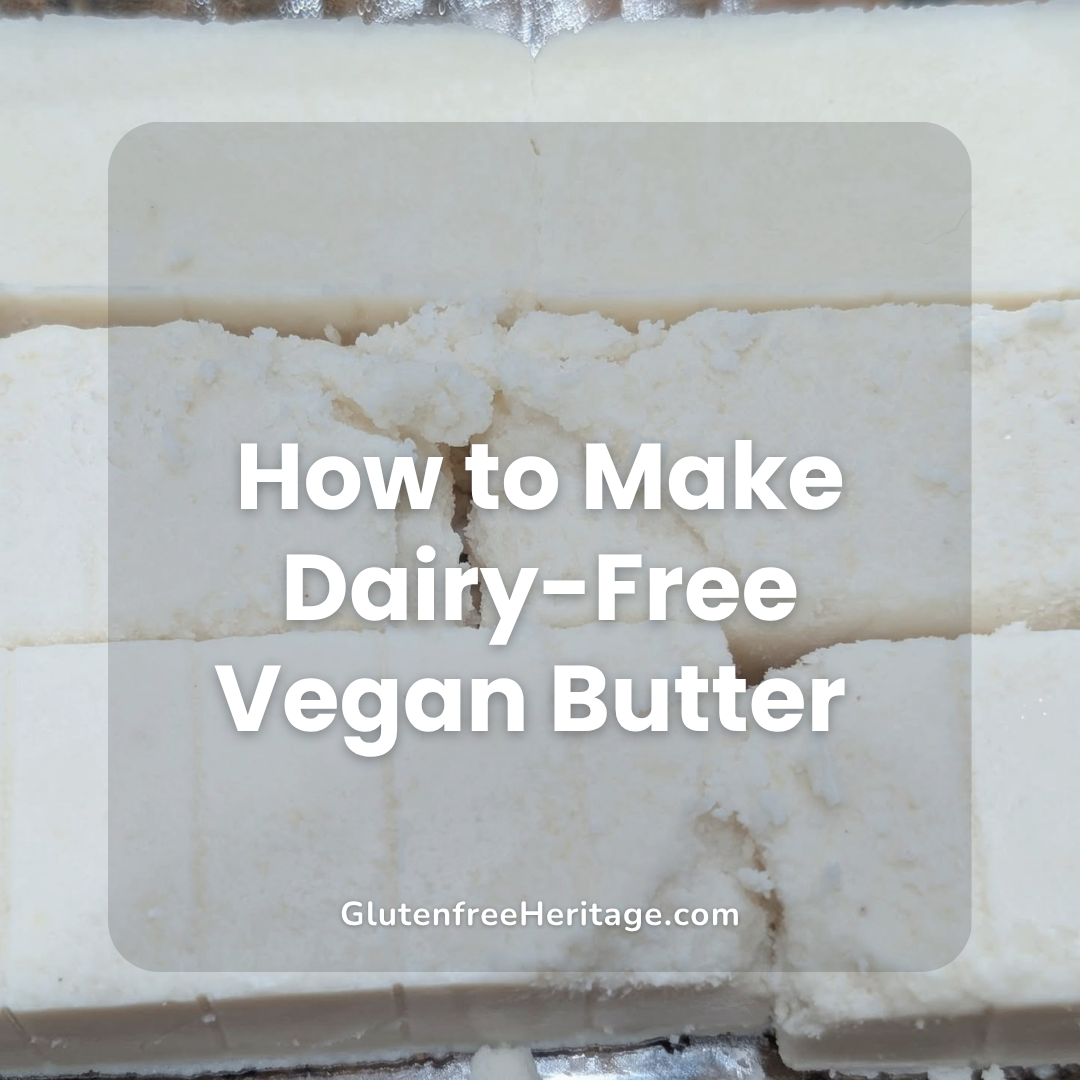
If you’ve been searching for a vegan butter recipe that’s easy to make at home, you’ve come to the right place. This homemade vegan butter tastes amazing, spreads beautifully, and works as an all-purpose vegan butter for all of your favorite recipes. This plant-based butter substitute is made with high-quality ingredients, most of which I sourced from Azure Standard, and it comes together quickly using simple kitchen equipment.
The beauty of making your own vegan butter at home is that you control exactly what goes into it. Unlike many store-bought options with long ingredient lists, this recipe keeps things simple. Plus, making your own is significantly cheaper than buying the most expensive vegan butter brands at mainstream grocery stores.

Why Make Your Own Vegan Butter?
Commercial vegan butter sticks and spreads have come a long way in recent years. Popular vegan butter brands like Earth Balance Buttery Sticks and Country Crock Plant Butter are now available at most local stores. But when my favorite, Myoko’s, became unavailable in stores, I knew I should learn to make my own. These dairy-free products have made it easier than ever for people following a plant-based diet to enjoy buttery flavor without using traditional butter made from cow’s milk.
Store-bought options can be pricey, especially compared with regular dairy butter. Many also contain palm oil or palm kernel oil, which some people prefer to avoid.
Making homemade vegan butter gives you complete control over your ingredients. When you make your own dairy-free butter alternative, you know exactly what’s going into your food. You can limit or eliminate artificial colors, mysterious natural flavor additives, or ingredients you can’t pronounce.
Understanding Dairy-Free Butter Options
Before we dive into the recipe, let’s talk about what makes a good vegan butter substitute. The best dairy-free butter alternatives typically use a blend of plant-based oils to mimic real butter’s texture and flavor. Common oils used include coconut oil, olive oil, avocado oil, sunflower oil, canola oil, and almond oil. Some recipes also incorporate vegetable oil or vegetable shortening.
The key to creating a dairy-free buttery spread that truly works in place of butter is achieving the right balance of fats. Refined coconut oil is often the base because it’s solid at room temperature and melts similarly to dairy counterparts. However, coconut oil alone can be too hard when chilled, so many recipes, including mine, add liquid oils like avocado oil to create a softer vegan butter that spreads easily.
Commercial vegan margarine and dairy-free butter options often include emulsifiers and stabilizers to help blend the oils and water components. They may also add beta carotene for color and vitamin A palmitate or vitamin D for nutritional fortification. Some brands even add vitamin enrichments to match what you’d find in regular butter made from cow’s milk.
The Benefits of This Recipe
This homemade vegan butter recipe offers numerous health benefits compared to many store-bought alternatives. First, it’s made with whole food ingredients like cashews, which add fiber, protein, and healthy fats. The cashews also help the butter brown when used in baking.
Second, this recipe uses refined coconut oil rather than palm fruit oil, making it a more environmentally friendly choice for those concerned about palm oil production. The avocado oil adds heart-healthy monounsaturated fats, while the nutritional yeast provides B vitamins and that savory, umami taste that makes this taste like traditional butter.
Third, you can adjust the salt level to suit your needs. Use the full half teaspoon for spreading on morning toast, or reduce it to a quarter teaspoon for baking applications. You could even make an unsalted version if your recipe calls for it. I found the 1/2 teaspoon of salt to be the perfect balance for my preference.
Ingredients You’ll Need
This recipe requires just a handful of simple ingredients, all easy to find at most grocery stores, including Azure Standard or Thrive Market (get 40% off your first order). Here’s what you’ll need:
2 tablespoons raw cashews (23 grams), soaked overnight
1/3 cup oat milk (73 grams)
1 teaspoon apple cider vinegar (4 grams)
1 cup melted refined coconut oil (267 grams)
1 teaspoon nutritional yeast (3 grams)
1/2 teaspoon sea salt ( ~4 grams or less, to taste)
2 tablespoons avocado oil (28 grams)
Equipment Needed
To make this dairy-free butter, you’ll need a high-speed blender. I use my Bosch Universal Plus Mixer’s blender attachment, which works perfectly for emulsifying the ingredients into a smooth texture. Any high-powered blender should work well for this recipe.
I prefer to weigh my ingredients in grams, to achive a consistenet result each time. For that, I use my NutriMill large scale. You can save $20 off select NutriMill & Bosch products using code VINTAGEVIRTUES and this link.
You’ll also need a container for molding your butter. I use a silicone butter mold from Amazon, which makes it easy to pop out a stick that looks like traditional butter. Alternatively, you can pour the mixture into a small glass dish or any decorative butter mold you have on hand.


Step-by-Step Instructions
Making this plant-based butter is surprisingly simple, though it requires some planning since the cashews need to soak overnight.
Step 1: Soak the Cashews
The night before you plan to make your butter, measure out 2 tablespoons (23 grams) of raw cashews and place them in a small bowl. Cover with water and soak overnight. This softening process is essential for creating a smooth, creamy butter without a gritty texture.
Step 2: Create a Buttermilk Substitute
The next day, drain and rinse the soaked cashews, then set them aside. Now you’ll create a dairy-free “buttermilk” that adds tanginess to your butter. Measure out 1/3 cup (73 grams) of oat milk. I used Planet Oat brand, but any unsweetened oat milk will work. Add 1 teaspoon of apple cider vinegar to the oat milk and let it rest for 5 minutes. This creates that slightly soured, buttermilk-like flavor that makes this taste more like real butter.
Step 3: Prepare the Coconut Oil
While the oat milk mixture rests, melt 1 cup (267 grams) refined coconut oil. Use refined coconut oil rather than virgin coconut oil, as refined coconut oil won’t impart an overpowering coconut flavor to your finished butter. The oil must be fully melted and liquid for proper emulsification.
You can melt the coconut oil on the stovetop over low heat or in the microwave for 30-45 seconds. Just heat it until it liquefies completely, but don’t let it get scalding hot. If it’s too hot, let it cool slightly before adding it to the blender, as you don’t want it to cook the other ingredients.
Step 4: Combine the Ingredients
Add the oat milk and vinegar mixture to your blender cup. Pour in the melted coconut oil. Add 1 teaspoon of nutritional yeast for a savory, umami, buttery flavor. Then add your salt. I found 1/2 teaspoon to be the perfect amount for spreading and general use, but you can adjust it to your preference or leave it out entirely for baking.
Finally, add your pre-soaked, drained, and rinsed cashews to the blender.
Step 5: Blend and Emulsify
Blend all ingredients at high speed. Once everything is moving and starting to combine, begin slowly drizzling in the 2 tablespoons of avocado oil (28 grams) while the blender is running. This gradual addition of oil helps create a proper emulsion, which is what gives your butter its smooth texture and prevents it from separating.
Continue blending until all ingredients are completely incorporated, liquefied, and silky smooth. The mixture should look creamy and homogeneous with no visible chunks or separation.
Step 6: Mold and Refrigerate
Pour the butter mixture into your chosen molding dish. If you’re using a silicone butter mold as I do, this will create a stick version that’s easy to slice. You can also pour it into a small glass container or a decorative butter mold for serving.
Refrigerate the butter overnight. As it chills, the coconut oil will solidify, and the mixture will firm up into a spreadable, sliceable butter that works beautifully in place of butter in any application.
Storage and Usage Tips
Store this homemade vegan butter in the refrigerator for one to two weeks in an airtight container. For longer storage, you can keep it in the freezer for several months. When you’re ready to use frozen butter, thaw it in the refrigerator overnight.
This dairy-free butter works wonderfully on morning toast, melted over vegetables, or in any recipe that calls for butter. It browns nicely when used in baking, making it perfect for any of your favorite recipes that traditionally use regular butter.
Because this butter blends plant-based oils with different melting points, it spreads easily even when cold, yet still holds its shape at room temperature better than many commercial butter substitutes.
How Does It Compare to Store-Bought Options?
I used my favorite brand, Myoko’s, for a while before it was no longer available in stores. I reluctantly switched to Country Crock in a pinch, but I knew I needed to make my own for more control over the ingredients. This homemade vegan butter stacks up nicely against these store-bought versions. If you’ve been buying your favorite dairy-free butter, I encourage you to try this homemade version, especially if it’s your first time making your own plant-based butter. You might be surprised at how easy it is and how much better it tastes than many commercial free alternatives.
Customizing Your Butter
One of the best things about making homemade vegan butter is that you can customize it to your preferences. Here are some variations to consider:
Oil Variations: While this recipe uses avocado oil, you could experiment with other liquid oils like sunflower oil, almond oil, or even a light olive oil. Each will slightly change the flavor profile and texture.
Salt Options: Use sea salt, pink Himalayan salt, or any salt you prefer. Adjust the amount based on whether you’re spreading it or baking it.
Flavor Add-ins: For a cultured butter flavor, you could add a bit more apple cider vinegar or even a probiotic capsule. Some people add a tiny bit of turmeric for color, though beta-carotene gives commercial butter its yellow hue.
Final Thoughts & Video
Making your own dairy-free butter alternative doesn’t have to be complicated or time-consuming. With just a few high-quality ingredients and a good blender, you can create a delicious, spreadable butter that works in all your favorite recipes.
I’ve included a 3-minute video that walks you through each step, showing you exactly how to combine the ingredients and achieve that perfect smooth texture. Watch it to see just how easy this process really is.
Give this recipe a try and experience the satisfaction of creating your own plant-based butter at home. After making it once, you’ll find yourself reaching for this homemade version again and again instead of the store-bought alternatives. It’s a great option for anyone following a plant-based diet or looking to reduce dairy without sacrificing the buttery flavor they love.
Printable Recipe Card

How to Make Dairy-Free, Vegan “Butter” Substitute
Ingredients
- 2 tablespoons raw cashews 23 grams, soaked overnight
- 1/3 cup oat milk 73 grams
- 1 teaspoon apple cider vinegar 4 grams
- 1 cup melted refined coconut oil 267 grams
- 1 teaspoon nutritional yeast 3 grams
- 1/2 teaspoon sea salt ~4 grams or less, to taste
- 2 tablespoons avocado oil 28 grams
Instructions
- Measure out 2 tablespoons (23 grams) of raw cashews and place them in a small bowl. Cover with water and soak overnight.
- The next day, drain and rinse the soaked cashews, then set them aside.
- Measure out 1/3 cup (73 grams) of oat milk, add 1 teaspoon (4 grams) of apple cider vinegar to the oat milk, and let it rest for 5 minutes.
- Melt 1 cup (267 grams) refined coconut oil.
- Add the oat milk and vinegar mixture to your blender, and pour in the melted coconut oil.
- Add 1 teaspoon (3 grams) of nutritional yeast for a savory, umami, buttery flavor.
- Then add 1/2 teaspoon (4 grams) salt.
- Finally, add your pre-soaked, drained, and rinsed cashews to the blender.
- Blend and emulsify all of the ingedients, while blending, drizzle in 2 tablespoons (28 grams) of avocoado oil.
- Pour the butter mixture into your chosen molding dish and refrigerate overnight.
Affiliate Disclosure
This blog post contains Amazon Associate and other affiliate links. Purchases made through these links help support Gluten-Free Heritage at no additional cost to you. Thank you for supporting this work!
Leave a Reply